Fig01: The pencil sketch by Steve Sanderson [aka Keewatin]

Concept art:

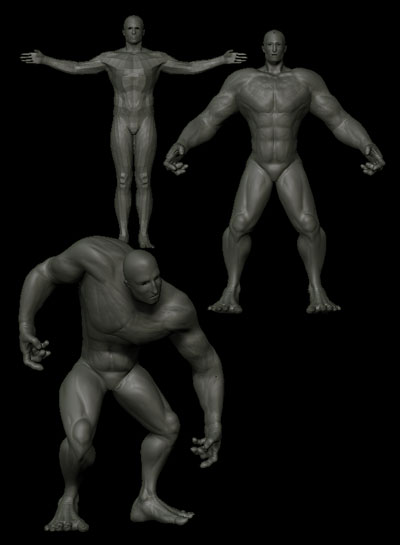
At first the process starts with a concept sketch done by Steve Sanderson. Pencil and paper are the most common medium at the early stages of the concept [Fig01]. The point of it is to quickly and effectively design and try different ideas on the creature without being interrupted or distracted by the technical issues of 3D modeling. It also helps the art director to visualize and approve the concept before it goes off to the modellers and spend valuable time and money.


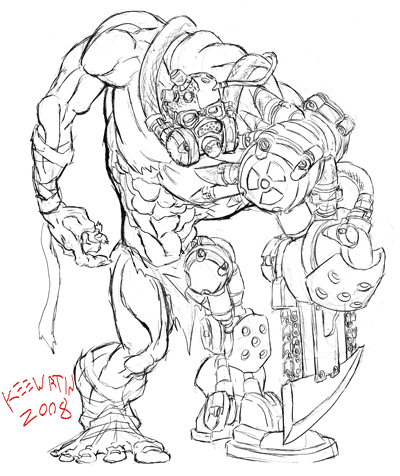
Fig02: The process of the shading of the sketch


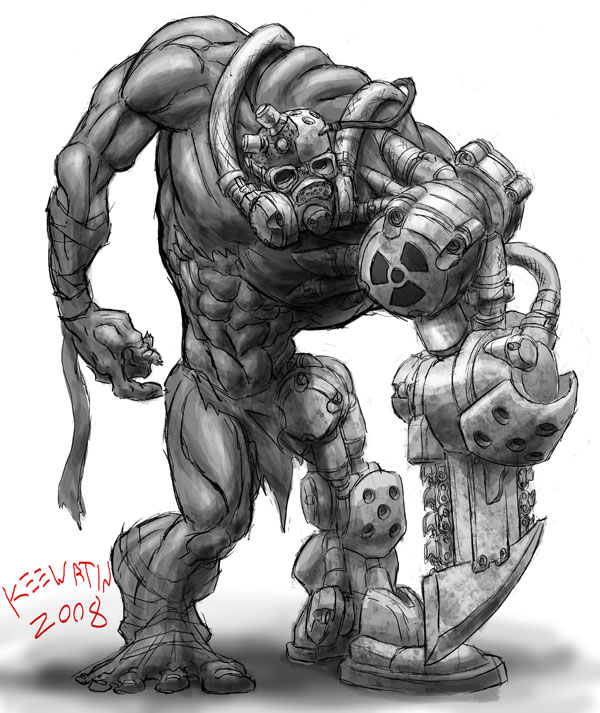
Fig03: The final shaded concept art


After scanning the sketch, Steve painted in the shading, shadows and highlights to differentiate the different materials and communicate more details of design to the modellers.  He used Photoshop and a Wacom Tablet for this step because of ability to paint on separate layers and have full control of each layer separately without affecting the initial line sketch. [Fig02&03]


Fig04: The quickly scupted and posed model.

Modeling:

At the same time I, Mohannad, was posing and sculpting an existing human base model in Zbrush based on the sketch Steve was working on. Zbrush provides simple and powerful tools to quickly and intuitively pose and sculpt the major forms of the model [Fig04]. The point of this model is to nail down the basic major anatomical features and pose in order to model the hard surfaces around it in Maya.


To model the mask in Maya with symmetry, I used a keyframe trick to have quick access to 2 positions of the model: The original position with the head tilted and a position where the entire model is rotated and moved to center the face on the grid. By setting a keyframe for each position on a different frame on the timeline, I could switch between the two by sliding the current time slider to the frame I need based on which part I was modeling. The mask was parented under the model node so it stuck with it on both keyframes [Fig05].

Fig05: The Keyframes with the different model positions.

Fig06: The different pieces that were modeled in Maya.


The hard surface models were modeled in the traditional way of started with a primitive shape [Mostly Cylinders and Cubes] then splitting and extruding faces then sometimes smoothing them [Fig06]. Because this model is not meant to be in a game, the polygon count was not a big issue.


If the model was meant for a game, I would not smooth most of the models and instead relied on smooth normals only, and I would have had to retopologize or resurface the organic part of the model. Retopology is the process of taking a high resolution detailed model and using it to create a lower resolution version  on top of it. This process give you full control over where you place the faces and edge loops so you can enhance the silhouette, which is one of the most important things consider when modeling for games since, unlike most parts of the model, it can’t be faked with normal maps. It also ensures that you have the proper edge loops for animation.

Example of retopologizing in Zbrush.

Example of retopologizing in Maya.


Because the sketch is not, or was not accompanied with, a T-pose sketch, getting the exact proportions and details was a challenge. However, I was fortunate to have Steve accessible during the initial stages of the model to  clarify some aspects of the creature and have fresh eyes whenever I needed them to check my progress. I also was lucky to have a some creative freedom which I’ve used [ and possibly abused] to change and make up details wherever I felt appropriate like the feet and the different scars; however I tried to stay true to the design and the back story of the creature.

Fig07: Timelapse video of the detail sculpting process. [13 min long].

Final Model Details:

Final Model:

Final Model Turntable::
Click to pause


Stereoscopic Renders!