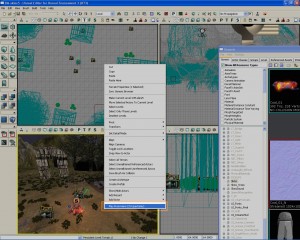
How to get started with the files you received
June 29th, 2009
Here are the instructions for you to set up and be ready to continue working on this project!
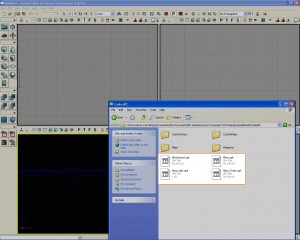
1.Transfer the files from the CD to your computer:
[CD/DVD_Drive_letter]:RiseOfTheLegendsDM-Skins.ut3
to C:Documents and Settings[your_account]My DocumentsMy GamesUnreal Tournament 3UTGameUnpublishedCookedPCMaps
[CD/DVD_Drive_letter]:RiseOfTheLegendsPackagesSkins.upk
[CD/DVD_Drive_letter]:RiseOfTheLegendsPackagesSkins_Trees.upk
[CD/DVD_Drive_letter]:RiseOfTheLegendsPackagesSkinsSound.upk
to C:Documents and Settings[your_account]My DocumentsMy GamesUnreal Tournament 3UTGameUnpublishedCookedPC
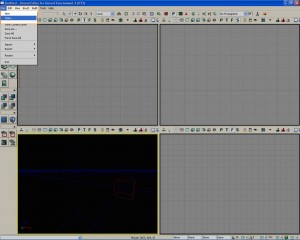
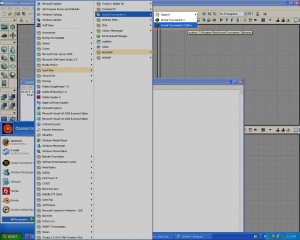
2. Start Unreal Tournament 3 Editor:
Start>Unreal Tournament 3>Unreal Tournament 3 Editor
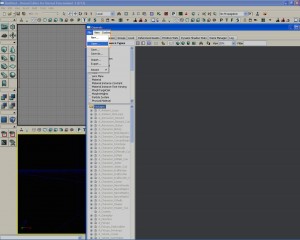
3. Open the Generic Browser (if it is not already opened)
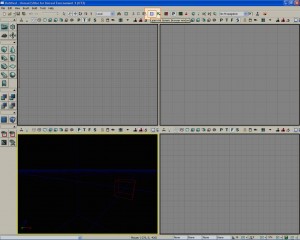
4. Open the packages you just moved: (If they are not already loaded in the generic browser)
(you can ctrl-select to add to your selection and choose them all at once)
Skins.upk
Skins_Trees.upk
SkinsSound.upk
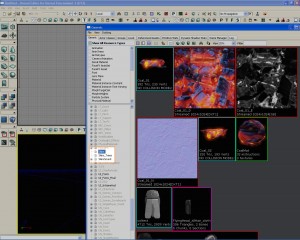
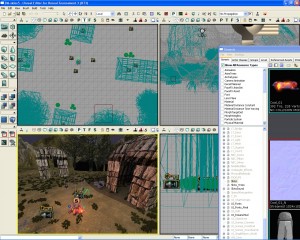
5. Open the Skins.ut3 map located at C:Documents and Settings[your_account]My DocumentsMy GamesUnreal Tournament 3UTGameUnpublishedCookedPCMapsSkins.ut3
Then you are ready to work!
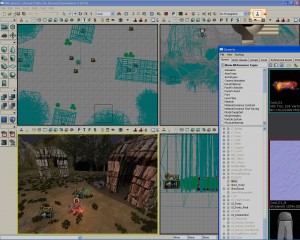
You can preview the game by pressing the PlayerStart button at the top to start where the player will start…
…or right-cliking in your 3D viewport and selecting “Play from here” to start wherever you want in the level.
Enjoy your modding!
Categories: Game Development, Unreal Engine, Unreal Mods |


